Monday, October 17, 2011

Baking...

I have to confess. I love to bake.  I mean, I really LOVE to bake!! Cookies, cakes, breads, all sorts of stuff!! And it isn't that I just love to eat it all; I just like to make it all.  When I was pregnant with my oldest son, I didn't have too many cravings.  What I craved was baking something!  We ALWAYS had baked goods at our house. I shared most of the stuff with friends and our house helper at the time was more than happy to help eat some of it during her morning break.

I've recently been on the quest for healthier options that I can make. I still want to make something. I just don't want to have all unhealthy stuff around the house. 

There are a few recipes that I've found and have been making for a few weeks.  Today was our (mine and my 3 year old's) baking day while brother was at school.

We did 2 loaves of whole wheat bread--to be honest, I'm still looking for an AWESOME whole wheat bread (no white flour mixed in) that works great at over 10,000 feet.  Any ideas?   Please help!!!

Then we did some homemade granola (last time they came out more as bars; this time I had more "chunks"), sticky balls, pecan pie larabars (recipe posted in previous post), and a new recipe--Fruit & Nut Crisps.

If you'd like to try some of these homemade goodies, here ya go. I got all of the recipes from other sites, and I just tweaked them a little (mostly to the ingredients that I could actually find here).

 
Granola or Granola Bars—
I use the recipe from  100daysofRealFood and I just tweak it to the ingredients we like to have it in:
Ingredients
  • 3 1/2 cups rolled oats (if you want bars use steel cut oats so it will stick together better)
  • 1 cup raw chopped almonds
  • ½ cup shredded coconut
  • 1/2 cup raw sunflower seeds
  • 1/2 cup raw pumpkin seeds
  • 1/2 cup raw hulled sesame seeds (optional)
  • 2 teaspoons ground cinnamon
  • 1 1/2 teaspoons ground ginger
  • 1/2 teaspoon grated or ground nutmeg
  • 6 tablespoons unsalted butter
  • 1/2 cup honey
  • 1/2 teaspoon fine salt
  • 2 teaspoons vanilla extract
  • Granola "chunks"
  • Also need – parchment paper
Directions
  1. Place an oven rack in the lower-middle position and heat the oven to 250 degrees. Line a large rimmed rectangular baking sheet with parchment paper and set aside.
  2. Place the oats, almonds, cashews, coconut, seeds and spices in a large mixing bowl and toss to combine.
  3. Heat the butter and honey together in a small saucepan over low heat until the butter melts. Stir in sea salt and vanilla. Remove from the heat.
  4. Pour the hot liquids over the dry ingredients and stir with a wooden spoon or rubber spatula until the dry ingredients are evenly moist. Turn the granola onto the prepared pan and press firmly with a spatula to create an even layer, about 1/2 inch thick. Bake until the granola is firm to the touch and a deep golden brown, about 1 hour and 15 minutes. (The granola will become crisper as it cools.) Cool completely in the pan, then lift an edge of parchment and break the granola into pieces (if making bars) or break it up into small chunks by pounding it in a zip lock bag (if making cereal). Store in plastic bags or air tight container at room temperature. The granola will keep at the height of its texture and flavor for 2 weeks. Serve with dried or fresh fruit and milk or yogurt, or eat out of hand.
Makes about 3 pounds
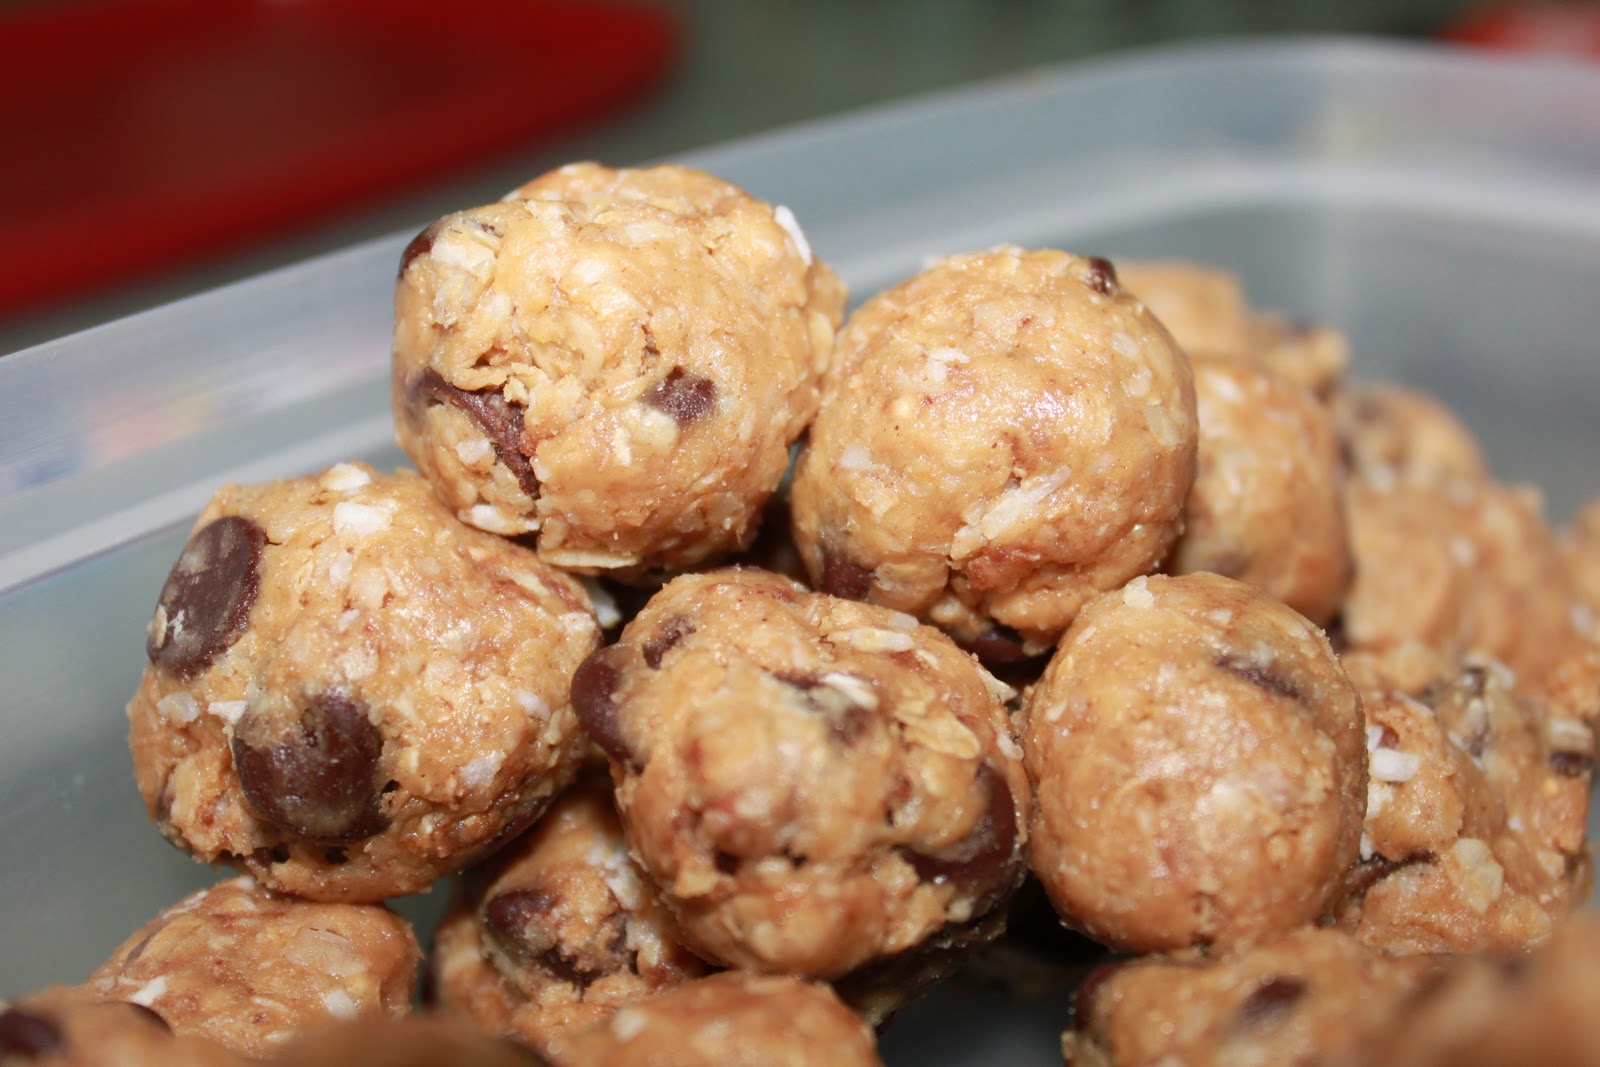

Sticky balls

Sticky Balls—(affectionately named by my 3 year old b/c they are sticky when he helps me make them!)
1 cup oatmeal
½ cup peanut butter
1/3 cup honey
½ cup coconut flakes
½ cup chocolate chips
1 tsp. vanilla

Mix everything in a medium bowl until well blended and there are no remaining dry spots.  Let chill in the refrigerator for 30 minutes.  Once chilled, roll into balls and enjoy!

The Fruit & Nut Crisps will come after I finish the 2nd part of making them!

Thursday, October 13, 2011

Garden

Did you know that Peru is the land of potatoes? Many sources say there are around 3,000 varieties of potatoes grown here!  I've seen a bunch of different ones here--long, thin, finger shaped things, along with white, yellow, brown, and red potatoes. And don't forget the ones that are purple and white inside. There are sweet potatoes too--the kind that is orange on the inside and a kind that is white on the inside.  There are also a LOT more varieties that I still don't recognize and I haven't tried.

Last year, when we moved in this house, we didn't realize that there were potatoes already planted in the little garden area and in the terraces.  We don't know who planted them, and we were sure surprised when we saw the plants starting to grow!  (We've seen enough potato plants to be able to recognize them.)

This year, rainy season is just beginning and so it is the time to start planting.  We weren't sure at first what to plant; then we decide to stick with what we know grows the best here--POTATOES!!

Hopefully, we'll see some little purple flowers growing soon as those potatoes start to form! :)

Wednesday, October 5, 2011

New Apron

It all started when I got a couple of new pairs of jeans last month.  One day, as I was baking some bread, I looked down and saw a flour hand print on my darker pair of jeans.   Hmm...I never noticed that before on the light color jeans.  I decided if I am going to unconsciously wipe my hands on my pants, then maybe I should actually get an apron. 

A friend had posted a picture on Facebook of aprons that her and her daughter made.  I thought it was such a cute idea, and I knew that I needed to try it!!

I found a pattern and instructions on line, spent a couple of afternoons during nap time, and WA-LAH---a new apron!!

Birthday

This post is only a couple of weeks old, but I had to share some pictures from my little man turning 3!!


While we were in the states, we wanted to do a party with family.   We've never been able to give him a big party, and this was the first year where he really understood it all.  He was So excited to be able to pick out Thomas the Train as his theme!
Wearing his Thomas shirt, of course!  He's showing off his new bookbag--Thomas!


In Peru, on his actual birthday we did something small for him, and he was excited to wear his party hat again.


Homemade Pecan Pie Larabars

Ok, so these came out even better than I expected! They are great!!

I had to share right away!  I saw this recipe a little while ago and I've just been waiting for time to try them out.  It was SO easy to make them! The only problem is that I haven't been able to find dried dates in Peru (I brought these back with us last month). 


Here's the recipe from deliciouslyorganic.net:

Pecan Pie Larabars
Makes 10 bars4 1/2 cups pitted dates
3/4 cup almonds
3/4 cup pecans
1 1/2 teaspoons vanilla
3/4 teaspoon cinnamon
pinch of sea salt
1. Line an 8×8 baking pan with parchment paper (horizontally and vertically) and then brush with coconut oil.
2. Pour dates into food processor and process until they become paste-like and form a ball in the bowl (if your dates are very dry you can add a tablespoon or two of hot water to help them break down). Pour dates into a large mixing bowl. Place almonds and pecans in food processor and pulse until coarsely chopped. Pour the nuts over the dates and also add the vanilla, cinnamon, and pinch of salt. Using your hands, mix all ingredients until combined. Press mixture into baking pan, cover (I just used the parchment that was hanging over the sides of the pan) and place in the fridge for about 30 minutes. Remove from fridge and cut into 10 evenly-sized bars.

I wrapped mine up in individual pieces to keep in the fridge/freezer for when we want a handy, healthy, snack! :)

Monday, September 26, 2011

Pop tarts!!

 It’s been awhile since I’ve updated the blog, mainly, because of traveling during our vacation back to the states. I still need to do a blog on that topic, but for now, I need to share a new experiment I tried this afternoon—

Homemade Pop Tarts!
 
Now, I have to admit that there have been plenty of times that I craved these treats over the past few years living overseas.  When we were in Costa Rica, there was 1 store that sold them, and our school happened to have some for sale at the little snack bar as well.  While I was pregnant, there was awhile where I had a frosted strawberry pop tart for snack every day!

However, after leaving Costa Rica, I haven’t bought them overseas again.  A few teams have brought some to us as a special treat though. 
 
Lately, since trying to eat healthier and avoiding most packaged and processed foods, I haven’t thought too much about them.

Until this recipe--

Hmm…a healthier version made with non- processed food items.  I thought, “Let’s try this!”
As a disclaimer, I didn’t follow the original recipe in the fact that I don’t have a variety of flours available to me.  I buy 1 kind of wheat, the only kind I can find here, and I grind it.   I basically did the whole wheat version, but I just used the whole wheat flour that I have.


Pop Tarts – Whole Wheat
Makes about 12 –  4″ x 2 1/2″ tarts.
For the dough:
1 1/2 cups whole wheat pastry flour
1 cup brown rice flour, plus 2 tablespoons
1/4 cup arrowroot flour, plus 2 tablespoons
1 1/2 teaspoons coarse sea salt
1 cup plus 3 tablespoons unsalted butter, cold
10 tablespoons ice water

For the filling, I used homemade blueberry jelly that I made last month.

They were surprisingly easy to make! And pretty yummy!! Now, I have to admit—because I didn’t have the different flours, mine did taste a little heavy and not quite like a light and flaking pastry.
My 4.5 year old food critic said, “They were good. They weren’t yucky.  Yummy, yummy, yummy!”